

Resin art has become one of those hobbies that looks complicated, but once you try it, you realize how fun (and addictive) it actually is.
The best part? You don’t need a full studio setup to get started. A few basic materials, some creativity, and you’re good to go.
So if you're just curious or already hooked on DIY, this list has something for you. You can try these resin crafts easily at home, even if it's your first time.
Let's get into it.
What You'll Need to Get Started
Before jumping into the ideas, here’s a basic list to get you started:
-
Epoxy resin and hardener
-
Silicone molds (depending on what you’re making)
-
Pigment powders or resin dyes
-
Glitter, dried flowers, foil flakes (optional)
-
Gloves, a flat surface, and good ventilation
-
MDF bases for flat surface projects
You don’t need to buy everything at once. Start with one idea, get the materials for that, and build from there.
Easy 11 Resin Craft Ideas to Try at Home
1. Resin Coasters
Resin coasters are one of the easiest things to start with if you’re new to resin art. You can use them anywhere: your dining table, nightstand, or study desk. Basically wherever you want to add a little aesthetic touch.
And they don’t require a lot of effort. To make coasters, you can use round or square silicone molds. Just pour the resin in layers and then get creative with it. You can add: solid colors, gold flakes, dried flowers or glitter.
If you want to experiment a bit, you can even create geode-style patterns using a stick.
Once done, let them cure. It usually takes around 24–48 hours to set properly. After that, they’re fully usable.
Pro tip: If you don’t want to use silicone molds, you can also go for small round MDF bases. This way, your coasters will have a glossy resin finish on top and a wooden base underneath.

:strip_icc()/pressed-flower-coasters-4e748b84-691fc79990fc4b108fead3884b77d0d7.jpg)
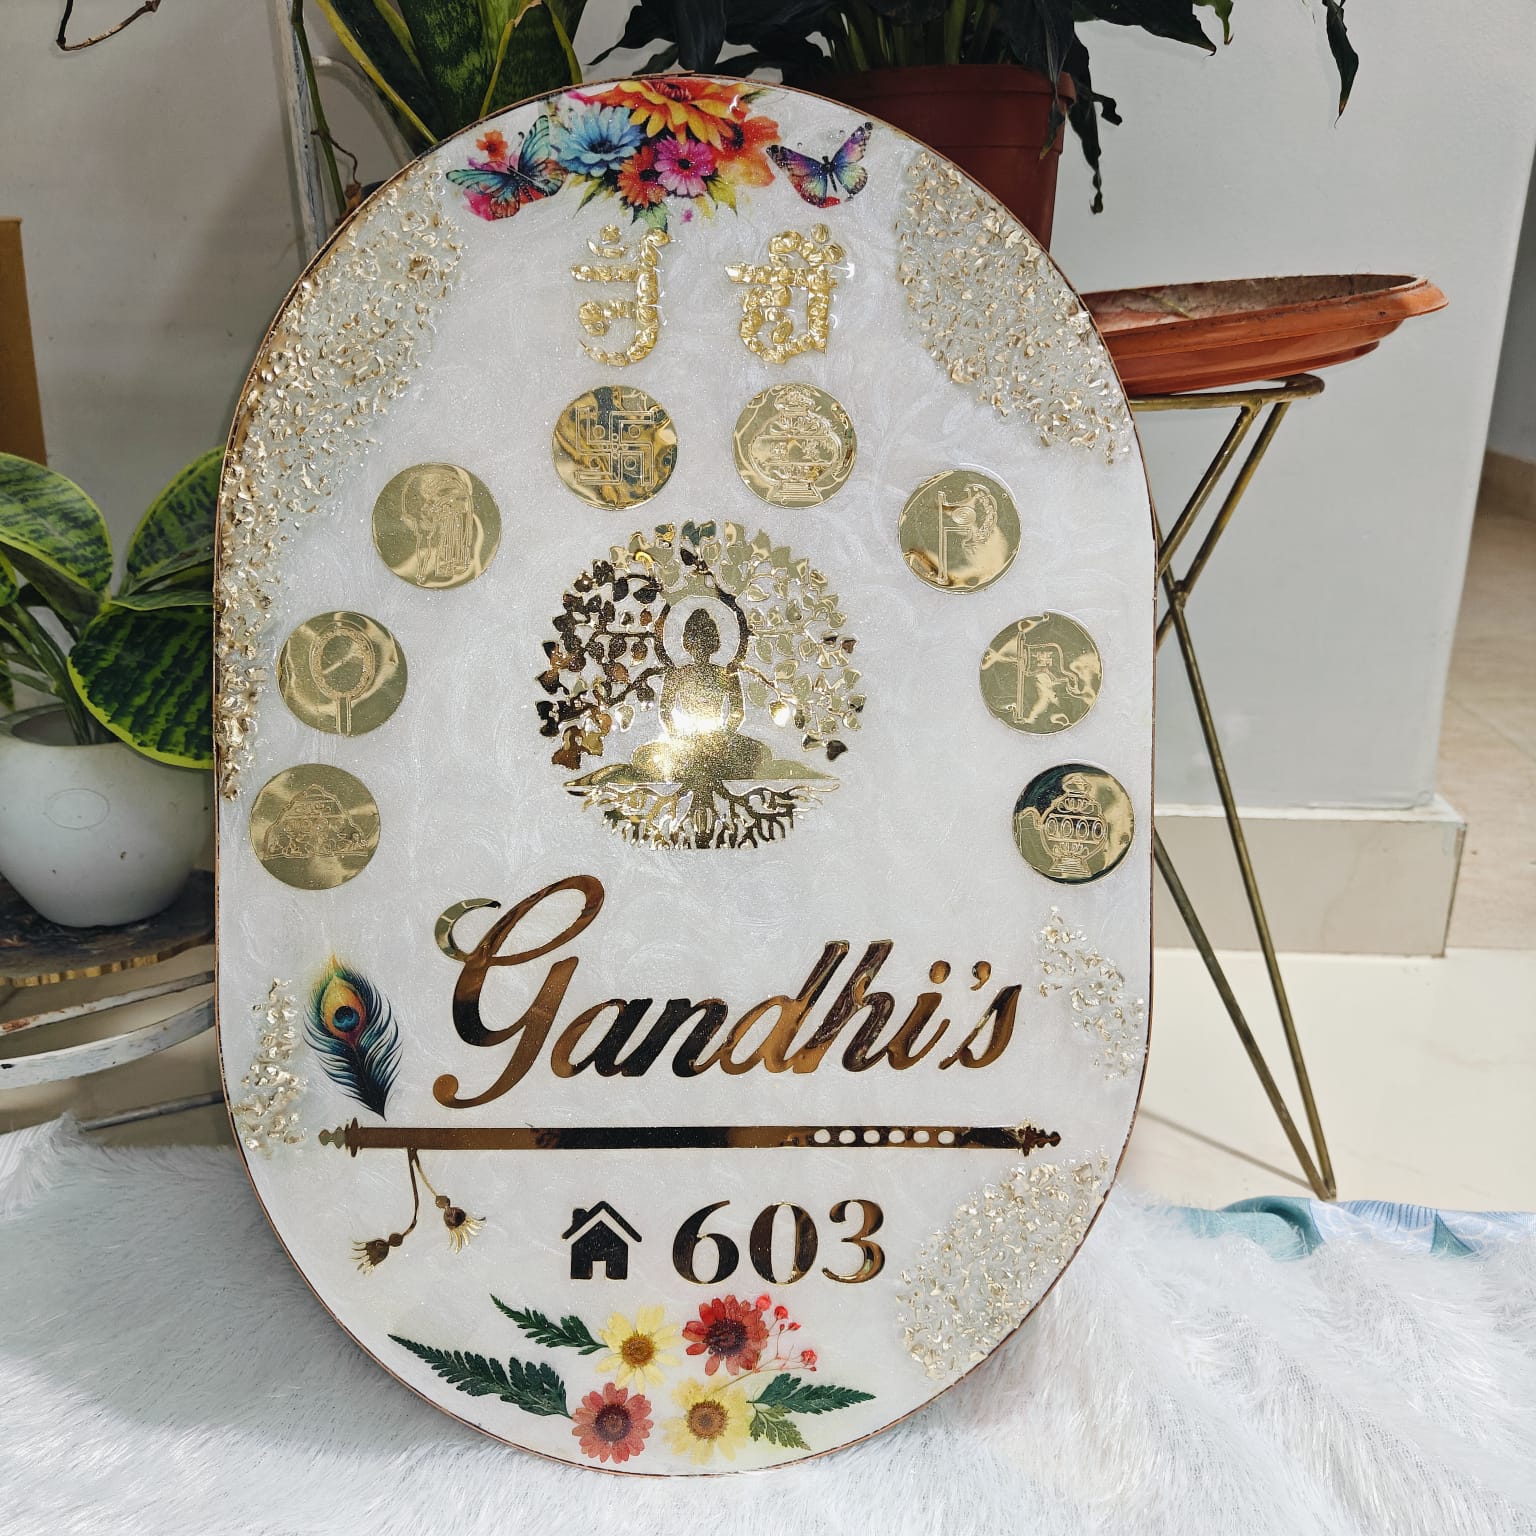
2. Resin Nameplates (custom MDF nameplates)
Custom nameplates are trending everywhere right now. And you can make them look even more unique and premium by adding resin art into it.
For this, you can start with a flat MDF base. You’ll easily find a range of MDF cutout designs in different shapes (like capsule, rectangular, uneven, or round).
Once you have your base, paint it the way you want and then add resin accents on top. You can keep it minimal or go creative with colors, textures, or even small elements.
After everything dries, you can add the name, initials, or even a short quote using acrylic letters or metallic stickers.
The final result would give you a premium and handcrafted feel. And honestly, these customised resin nameplates can make amazing gifts too.

3. Resin Keychains
Resin keychains are another super easy craft idea you can try. They’re quick, fun, and don’t need a lot of material.
You can use small silicone molds in shapes like teardrop, circle, rectangle, or even alphabet molds.
Start by mixing your resin and hardener properly. Then you can add a bit of color, some glitter, or even a tiny dried flower. Once the mix is done, pour it into the mold.
Before it fully sets, don’t forget to add the keyring loop. That’s it, your resin keychain is ready.

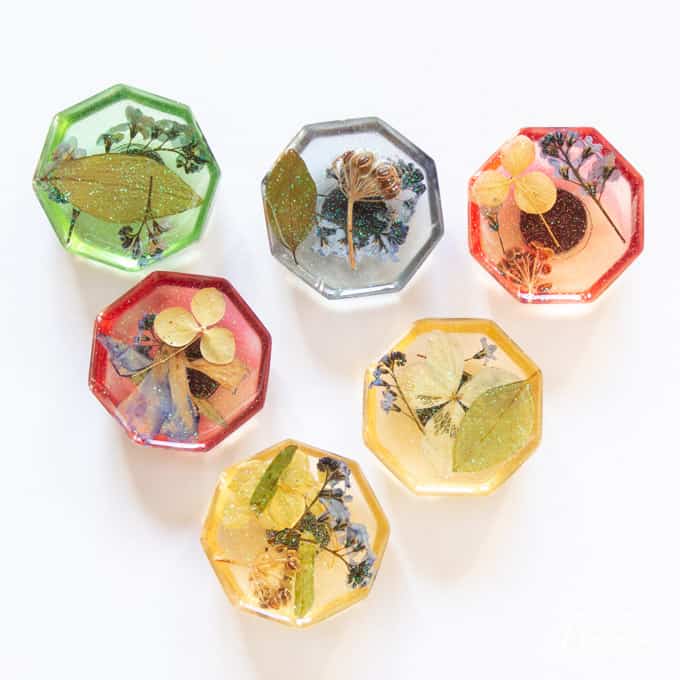
4. Fridge Magnets
Fridge magnets are one of those fun DIY resin art idea you can easily try over a weekend. Simple, quick, and really satisfying to make.
You can use small round or square silicone molds for this. While pouring resin, you can add anything inside: a tiny photo, pressed flowers, or even a small quote cutout.
Once the resin is fully cured, just glue a small magnet disc to the back. And, that’s it.
Best way to add a personal touch to your fridge.
5. Mandala Art Boards
If you’ve seen resin art on Instagram, you’ve definitely come across mandala designs. These look complex but are actually manageable when you have a solid base to work on.
For this, you can use an MDF board as your base. It has a smooth and flat surface, which makes it easier to draw clean mandala patterns without uneven lines.
A good approach is to first apply a thin resin coat on the board and let it cure completely. Once the surface is fully set, it becomes glossy and smooth.
Now when you draw your mandala on top, the lines come out sharper and more precise. Also, the resin layer prevents the ink or paint from spreading or getting absorbed, so you don’t get that smudged look.
Once done, attach a hanging hook at the back and it's ready as a wall hanging.


6. Resin Photoframes
You should definitely try resin photo frames if you want to create something really personal.
You can use any of your special photos.
Take a flat MDF base and mark the area where your photo will go. Then, around the border, pour tinted resin and decorate it with elements like dried flowers, shimmer, or subtle colors.
Let it cure properly. Once it’s done, you’ll have a custom wooden base resin wall frame ready. glossy, handcrafted finish.
It’s simple to make, and gives that glossy and handcrafted finish. And you can use it as a decor item as well.


7. Pendants
Resin jewelry is a whole category in itself. And well, pendants are the best option to start with. They’re small, easy to make, and look really elegant when done.
You can use jewellery-grade silicone molds in shapes like oval, teardrop, or simple geometric designs. Just mix a small amount of resin, add a bit of color, and include tiny details.
Tip: Use dried flowers here. They look especially beautiful in pendants.
Pour the resin into the mold and keep it simple. Since the size is small, even the minimal design looks good.
Before the resin fully sets, insert a bail (the small metal loop) so you can attach a chain later.
Once it’s cured, you’ll have a wearable piece of art.

8. DIY Resin Wall Clock
Making a resin wall clock might sound a bit complicated at first, but it’s actually quite manageable. And honestly, a lot of fun.
Start with a round MDF base and use it as your canvas.
First, seal the surface properly, then pour your resin design on top. You can go for styles like galaxy patterns, ocean waves, or even simple abstract swirls.
Let the resin get fully cured. Once done, make a small hole in the center and fix a clock mechanism into it. Then just add the clock hands.
That’s it, your DIY resin wall clock is ready.
It’s not just functional, but you can use it as a beautiful decor piece.


9. Resin Trays
DIY Resin trays are a great idea if you want to make something that’s not just pretty but also useful in daily life.
You can start with a rectangular MDF base as your tray bottom. Seal it properly first, then pour your resin on top. Go with colors you like: deep ocean blues, warm neutrals, or even metallic shades.
To make it more interesting, you can add small details like gold foil, dried petals, or shells for some texture.
Once it’s set, you can attach side handles using wooden dowels or leather strips. It gives the tray a finished and practical look.


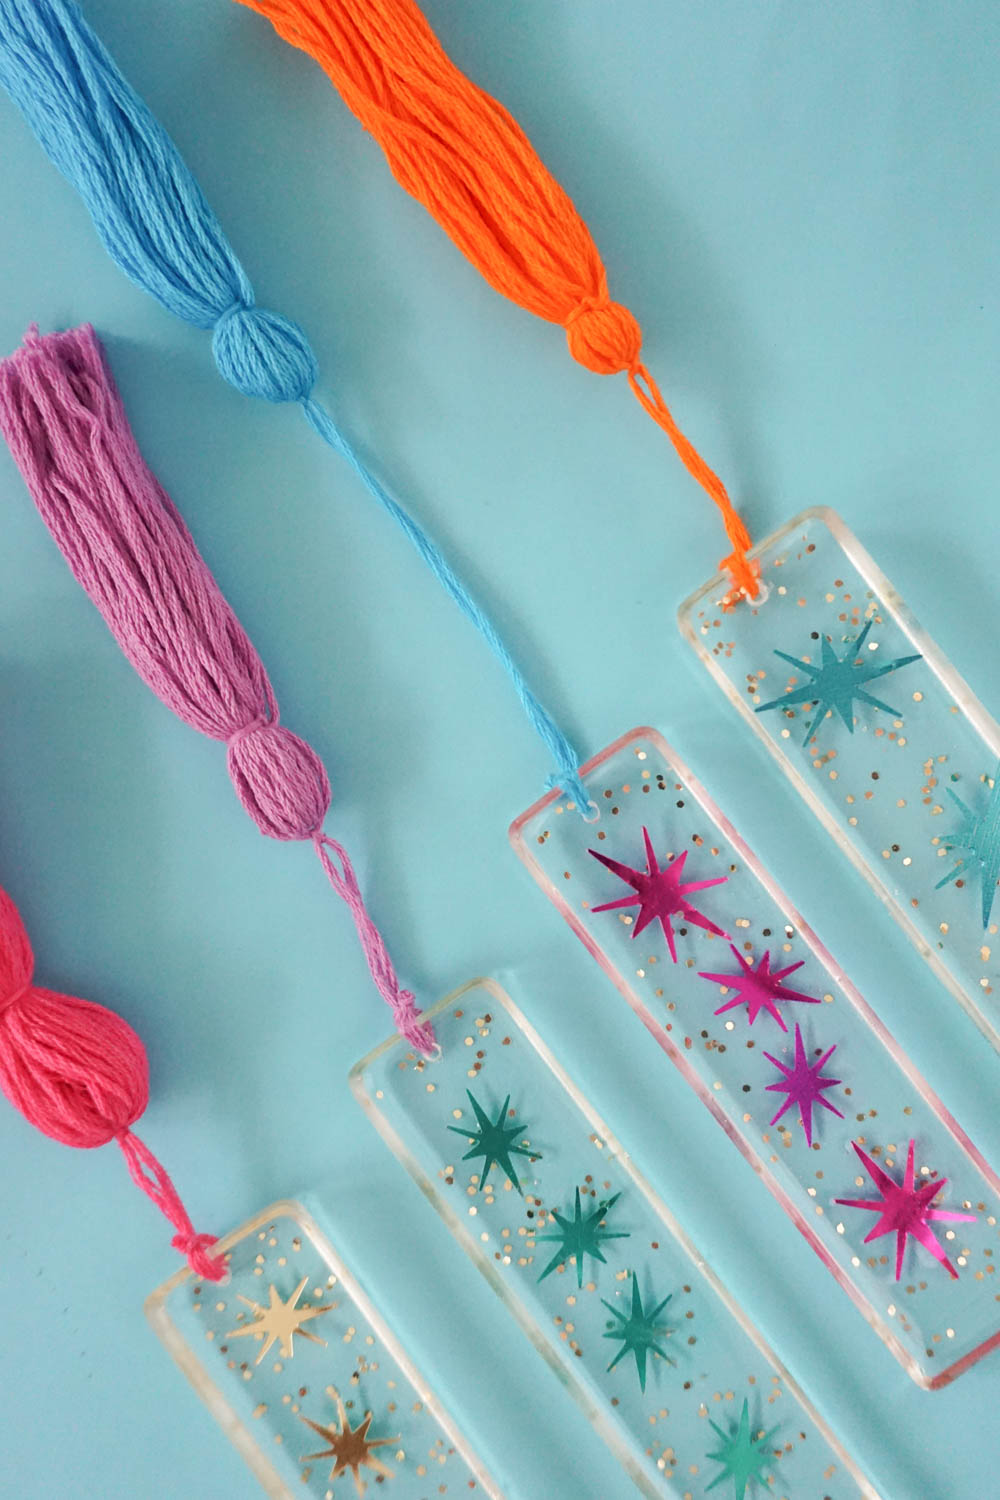
10. Resin Bookmarks
If you’re a book lover, you’ll honestly enjoy making resin bookmarks even more. It’s one of the quickest and coolest resin ideas to try.
Just use a long rectangular silicone mold. Pour your resin, add a bit of color, and keep it simple with some dried flower petals or foil flakes.
Let it cure properly, and once done, make a small hole at the top and add a tassel.
That’s it. You’ll get pretty and delicate resin bookmarks. And plus, you can even consider gifting these mini handmade gifts to a book lover.

11. Resin Wedding Platters
Resin wedding platters are one of the most popular and trending uses of resin art right now. You’ll see them everywhere, from haldi and mehndi platters to engagement trays.
If you’re someone who enjoys detailed work and already has some experience with resin art, you can try making these on your own. They’re usually created using MDF cutout bases or silicone molds, depending on the design.
You can go all out with customization here: names, dates, florals, gold accents. Everything that adds a personal touch to wedding functions.


Note: This is not a beginner-level DIY. It requires proper control over resin layering and finishing. If you’re new, it’s better to skip making it yourself and go for a ready-made customized pre-wedding platter for a cleaner, premium result.
A Few Tips Before You Start
Before you begin, here are a few simple things that will make your resin work much smoother:
-
Work in a ventilated space: Resin fumes can be strong, so keep a window open or work outdoors if possible.
-
Measure properly: The resin-to-hardener ratio is important. Always follow the instructions on your product.
-
Be patient with curing: Don’t rush it. Most pieces need at least 24–48 hours to set properly.
-
Start small: Try a keychain or resin coaster first. You’ll learn a lot before moving on to something more big.
-
Use a good base: Ready-cut MDF bases make things much easier. They’re smooth, give clean edges, and save a lot of time.
If you’re planning to try some of these ideas, you can explore our different MDF cutout designs and bases.
Final Thoughts
Resin art doesn’t have to be perfect. Half the fun is in experimenting and seeing how different designs turn out.
Start small, try a few ideas from this list, and you’ll slowly figure out what you enjoy the most.
And once you get comfortable, trust us, you’ll keep coming back to it.